If you are a fashion designer, reseller, drop shipper, or affiliate seller, you know the struggle: fashion photoshoots are expensive, time-consuming, and hard to coordinate. Managing models, studio hires, hair and makeup artists, and outdoor locations can quickly drain your budget before you ever make your first sale.
What if you could generate hyper-realistic, consistent AI fashion models wearing your fashion brand without hiring a model or setting foot in a photography studio?
In this tutorial, you’ll learn a proven, layer-by-layer system to create virtual models with consistent faces and body proportions, place them in branded studio or street environments, and dress them in your garments.
Download the Free Prompt Reference Guide: Want to follow along without pausing or typing out every parameter manually? Grab all the master prompts used in this guide by visiting the Prompt Guide Resource PDF.
Why Workflow & Consistency Matter in AI Fashion
Generating a stunning AI image is simple. The real challenge in AI fashion photography is consistency. When you generate product shots one by one, standard AI image generators alter face shapes, skin textures, hair, and body proportions with every single run. For an e-commerce catalog, lookbook, or ad campaign, fluctuating models make your brand look unprofessional.
To solve this, we construct our virtual fashion model in four distinct, layered stages: Face Generation ➔ Body Locking ➔ Environment Creation ➔ Dressing the Model. By decoupling facial identity, body structure, environment, and garments into individual reference assets, you create a repeatable workflow.
Step 1: Generate the Model’s Face (Identity Lock)
The first step is creating the facial identity of your brand’s model. Once you have this, download and save this face portrait. It will serve as your Face Reference Asset. Here’s how to generate your model’s face;
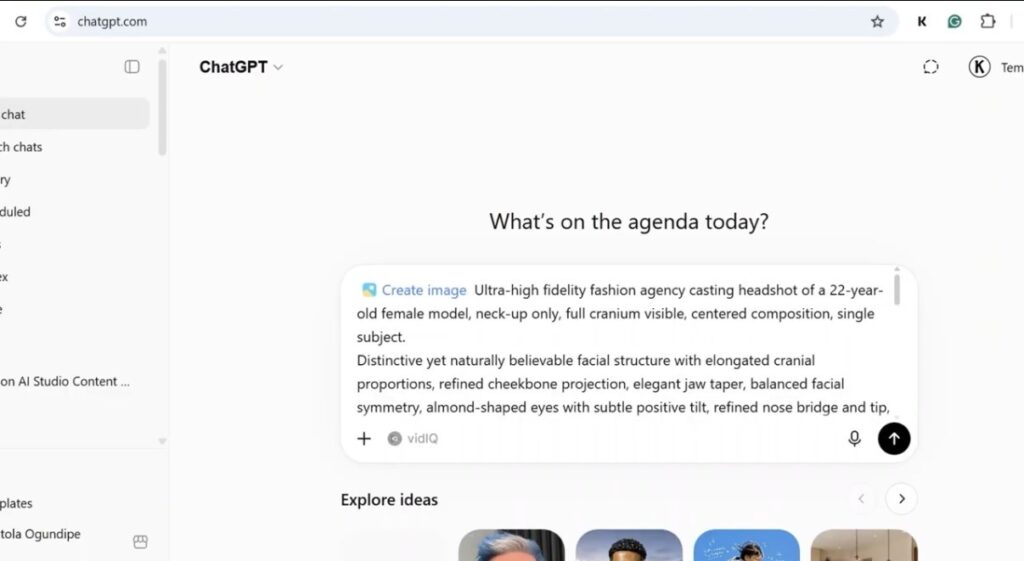
- Open ChatGPT (or your preferred AI image generator).
- Input the master prompt (from the document) defining the model’s key facial features: age, ethnicity, complexion, eye shape, and hairstyle.
- Generate a clean, close-up portrait shot.
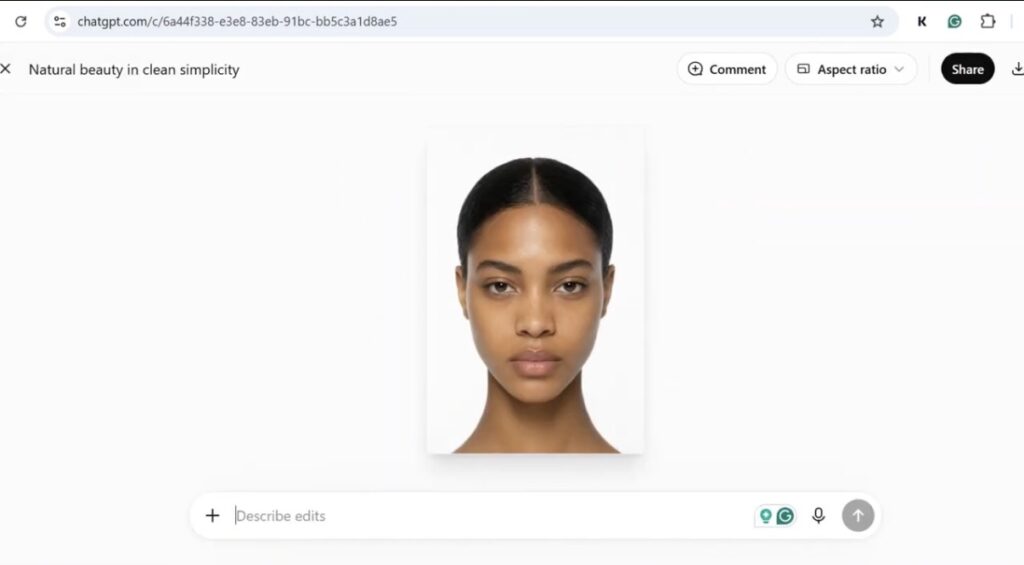
Customization Tip: Avoid using default prompts directly. Tweak the age, hairstyle, ethnicity, or facial features to build an image that resonates with your brand’s target customer.
Step 2: Lock in the Model’s Body Shape
Next, we establish your model’s physical proportions. Defining specific body traits prevents the AI from altering height or build across future generations. Here’s how to do it;
- Start a new chat in ChatGPT.
- Upload the Face Reference Asset generated in Step 1.
- Paste the body parameter prompt (from the document) to specify height, frame, bust, waist, hips, and thigh shape.
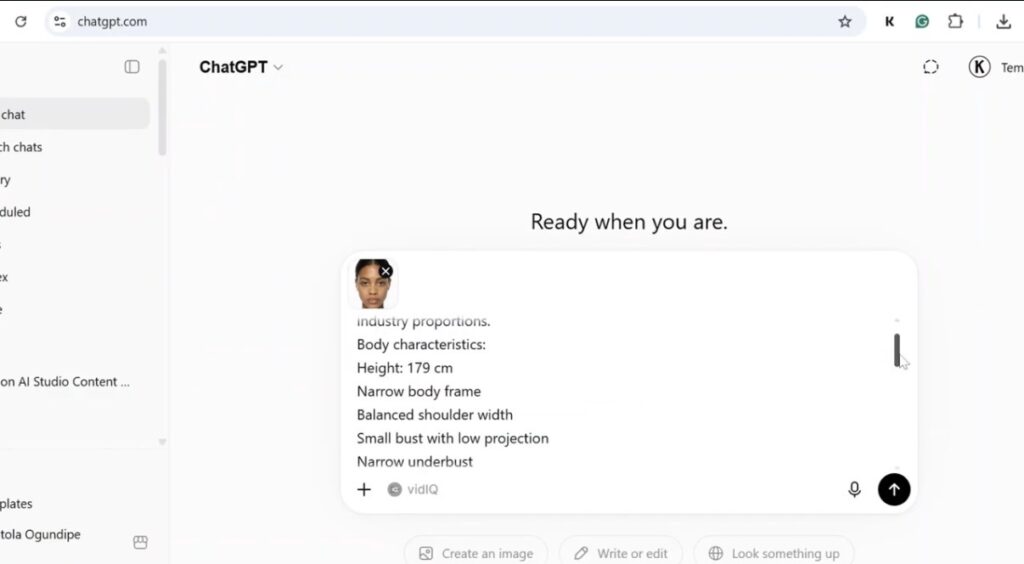
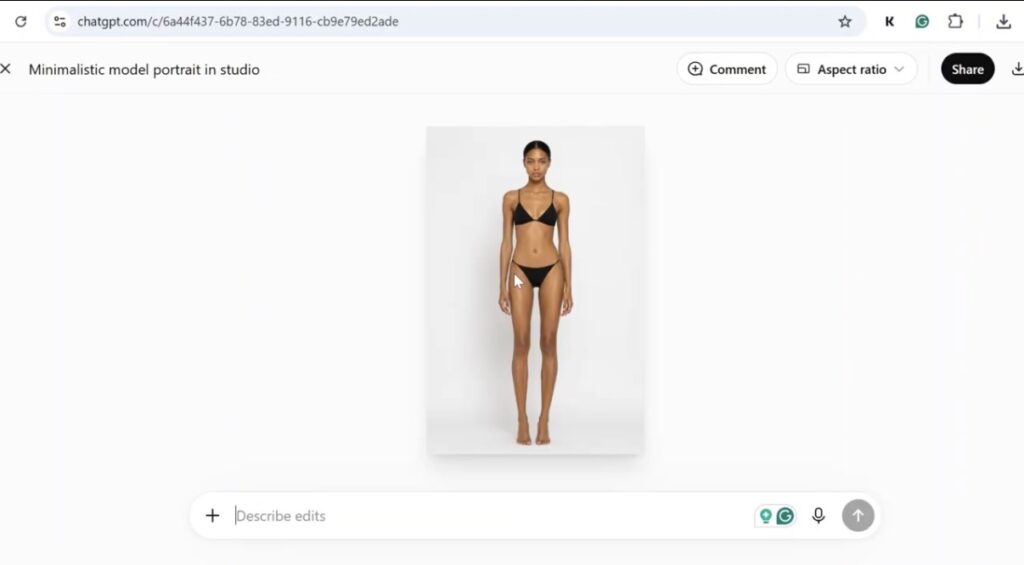
Whether you need a petite model, an athletic build, or a plus-size fit, adjust the parameters at this stage. Download and save this full-body render as your Body Reference Asset.
Step 3: Build Your Branded Environment
Your product images need an environment that matches your brand aesthetic, whether that’s a luxury walk-in wardrobe, a minimal sunlit studio, or a bustling urban street environment. Here’s how to do it using visual inspiration;
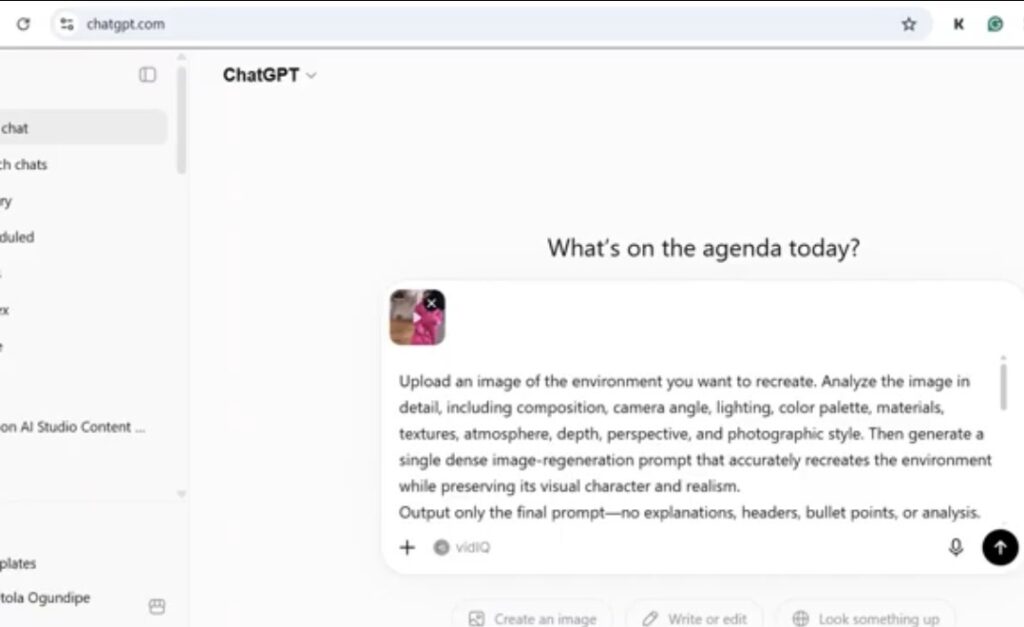
- Head to Pinterest or Instagram and find a lifestyle image with lighting or staging you like. Take a screenshot.
- Upload the screenshot into ChatGPT.
- Use a reference prompt asking the AI to analyze the room, lighting, and mood, and generate a text-based prompt for a similar background.
- Run that newly created prompt in a new chat to build your unique background image.
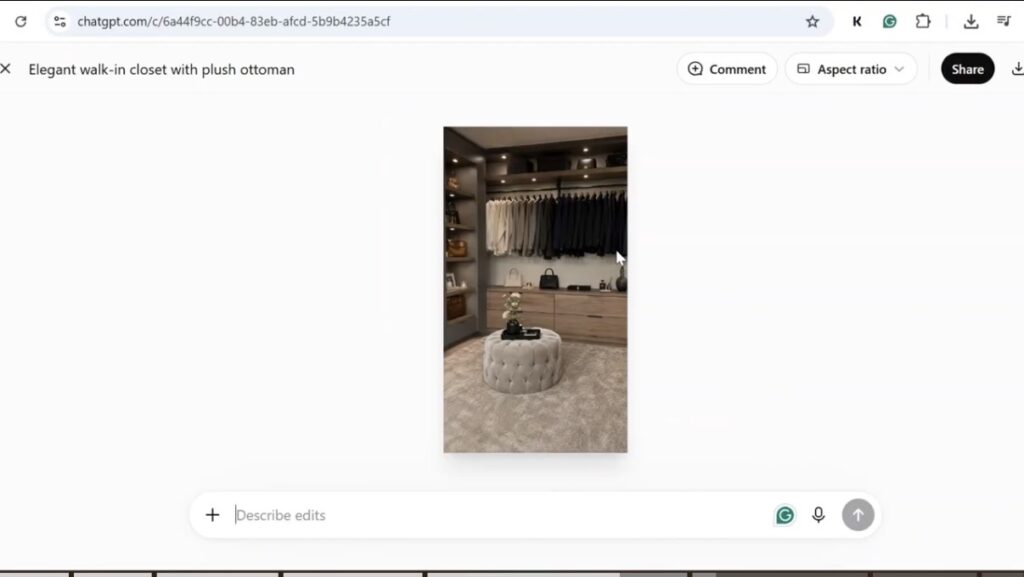
Note: This process creates an original, inspired environment without duplicating copyrighted studio content. Download and save your Environment Asset.
Step 4: Dress the AI Model in Your Product
Now, bring all three layers together and add your garment using these steps;
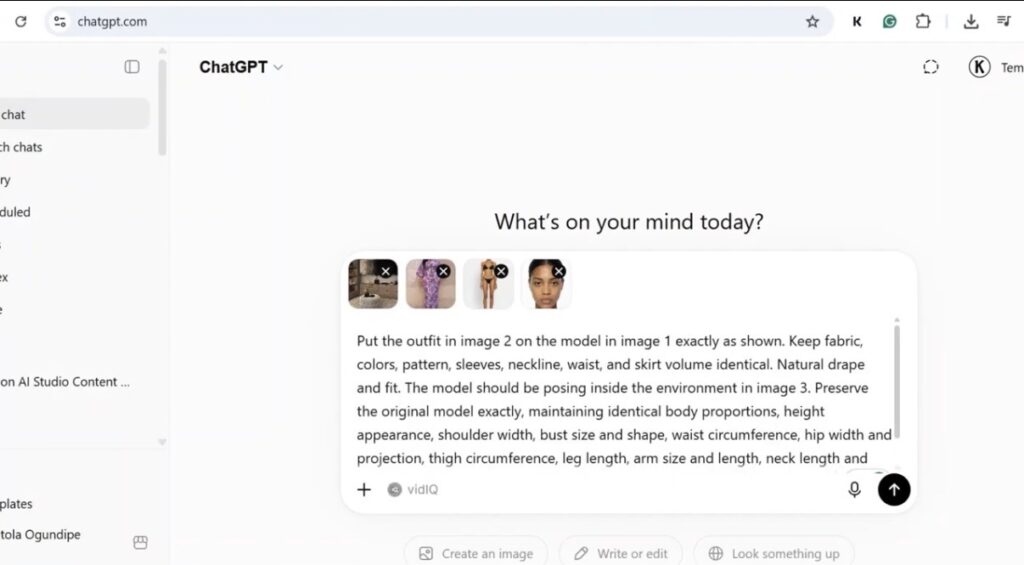
- Open a new chat window.
- Upload all four required assets:
- Image 1: Model Face Reference Asset
- Image 2: Full-Body Reference Asset
- Image 3: Environment Asset
- Image 4: Your Clothing (Flat-lay, ghost mannequin, or hanging shot)
- Input the final master prompt (from the document)
Pro Tips: Speeding Up Workflow and Fixing Details
- Accelerate Production: Creating the face and body references is a one-time setup. Once saved, you only need to swap out Image 4 (the clothing) and re-run the final prompt to render new catalog assets quickly.
- Footwear and Styling: If your generated model comes out barefoot, specify footwear explicitly in your prompt (e.g., “wearing classic black leather heel sandals”) or upload a shoe image as an additional style reference.
- Beyond Static Images: Take these generated photos and run them through AI video tools to create dynamic social media reels, lookbooks, and ad campaigns.
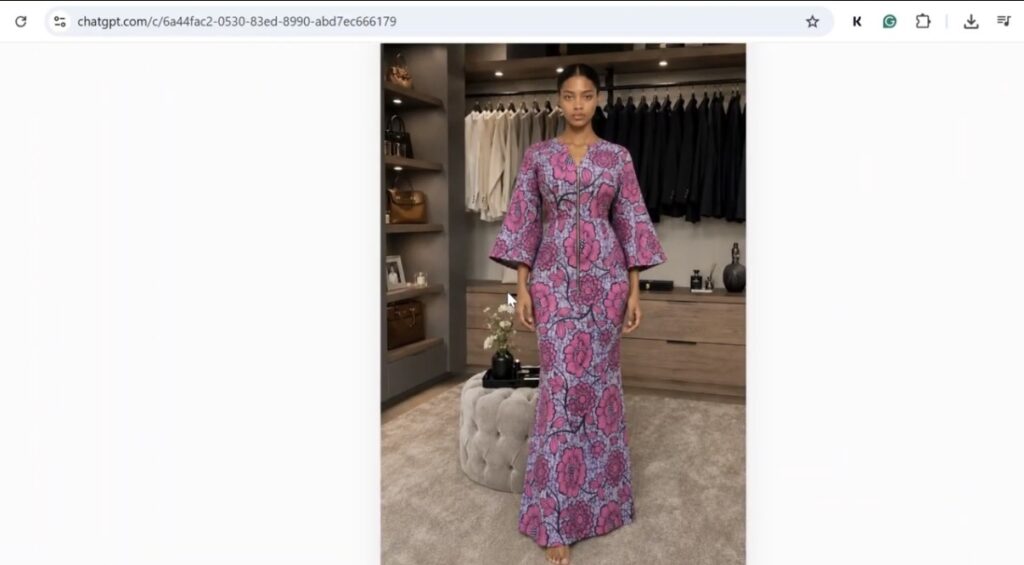
By following this step-by-step framework, you can produce consistent, high-converting imagery for your fashion brand at a fraction of traditional production costs.
Don’t forget to grab the exact templates, formulas, and master prompts used in this tutorial by downloading the Prompt Reference Guide PDF.