Running an online clothing store, fashion boutique, or dropshipping business usually comes with one major pain point: product photography. Traditionally, creating professional catalog images meant booking a studio, hiring photographers, scouting models, and spending thousands of dollars on production.
What if you could skip the photo shoot entirely?
Thanks to advancements in generative AI, you can now create stunning, professional-grade e-commerce clothing photography without ever hiring a real model or stepping foot in a studio. In this guide, I’ll walk you through a step-by-step process using AI to build a consistent brand model, dress her in your apparel, generate dynamic pose variations, and upscale your images for a high-end online store.
Why Consistent AI Models Matter for Clothing Brands
A common mistake many store owners make is uploading a clothing item into an AI tool and letting it generate a completely random model every time. The result? Every product page features a different face, a different body type, and inconsistent proportions. For a clothing brand, consistency is everything. Customers want to recognize your brand identity instantly. To solve this, we use a layered approach by building your virtual model in two parts: the face first, then the body. Once created, your model stays identical across every product image you generate.
The 8-Step Blueprint to AI Clothing Photography
Step 1: Generate Your Model’s Face
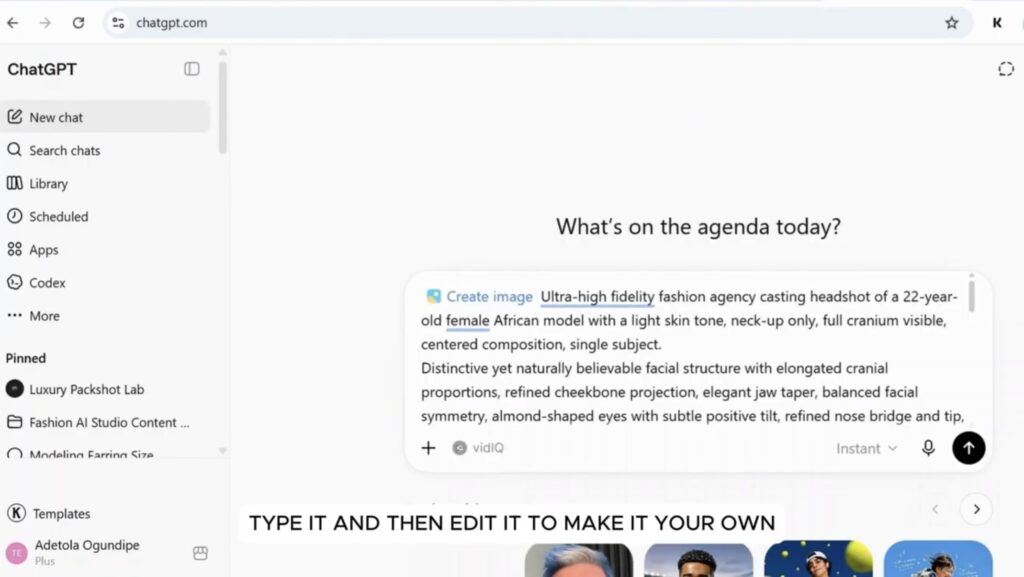
Open ChatGPT and start by creating your model’s face. Use a detailed descriptive prompt specifying age, ethnicity, and skin tone. Once you get a face you love, download and save it. This image is your model’s permanent identity.
Step 2: Generate Your Model’s Body
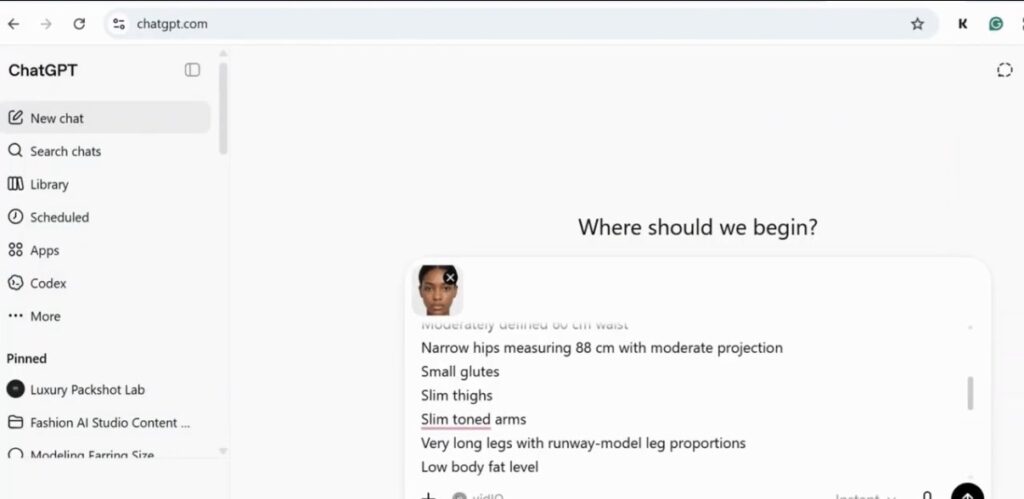
Open a new chat, upload your model’s face image, and input a prompt to generate her body type and proportions. Download the result. Now you have a matched face and body that form your model’s unique look.
Note: If you don’t know how to generate a model for your brand, read my How To Create AI Models for Your Fashion Brand (Step by Step) blog post to learn, then you can move on with the rest of this tutorial.
Step 3: Create Your Background
Decide on your brand aesthetic:
- Clean & Minimal: A plain white background (like ASOS or Shopify).
- Editorial & Styled: Rich colors and textures.
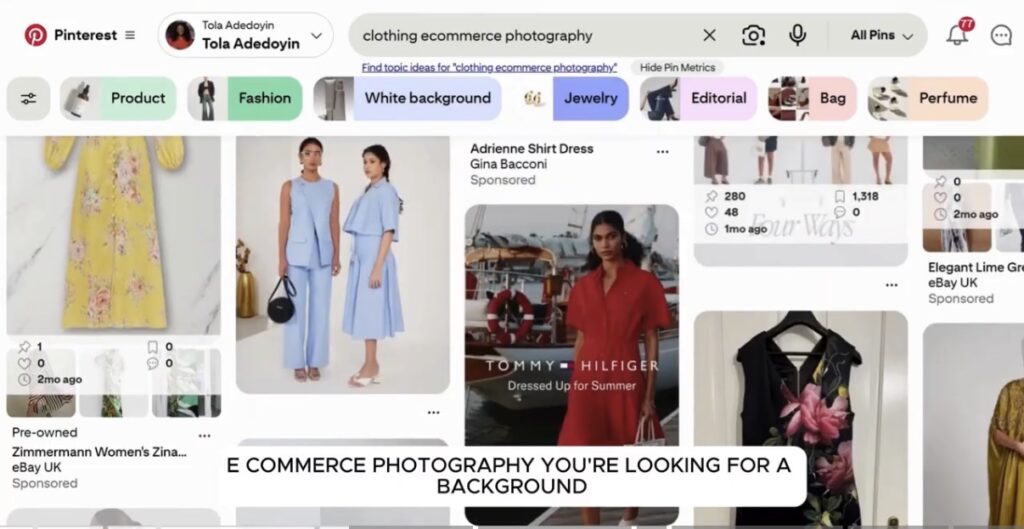
Pro tip: Search Pinterest for “clothing e-commerce photography” inspiration, upload a screenshot to your ChatGPT, and ask it to describe the image so you can get a prompt that helps you generate a similar background environment.
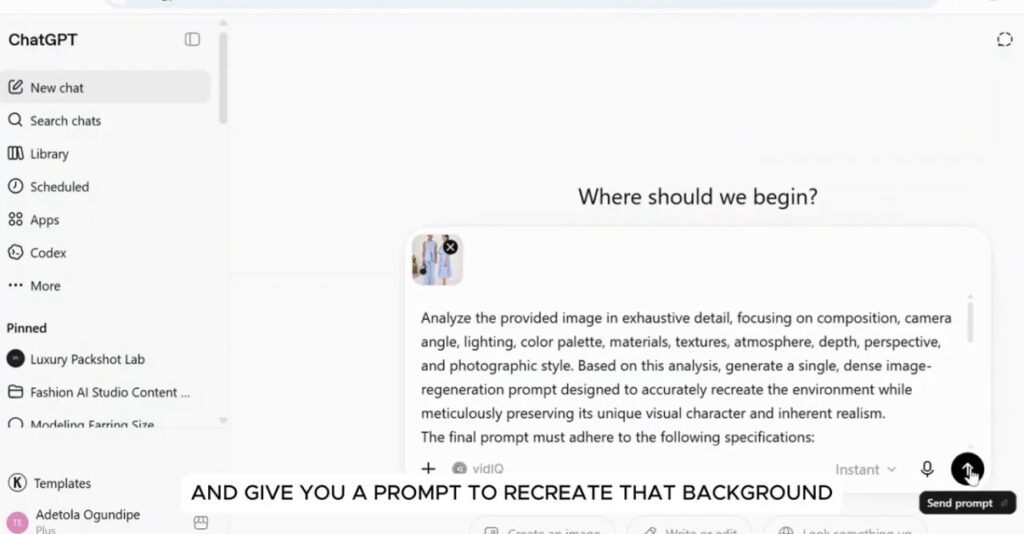
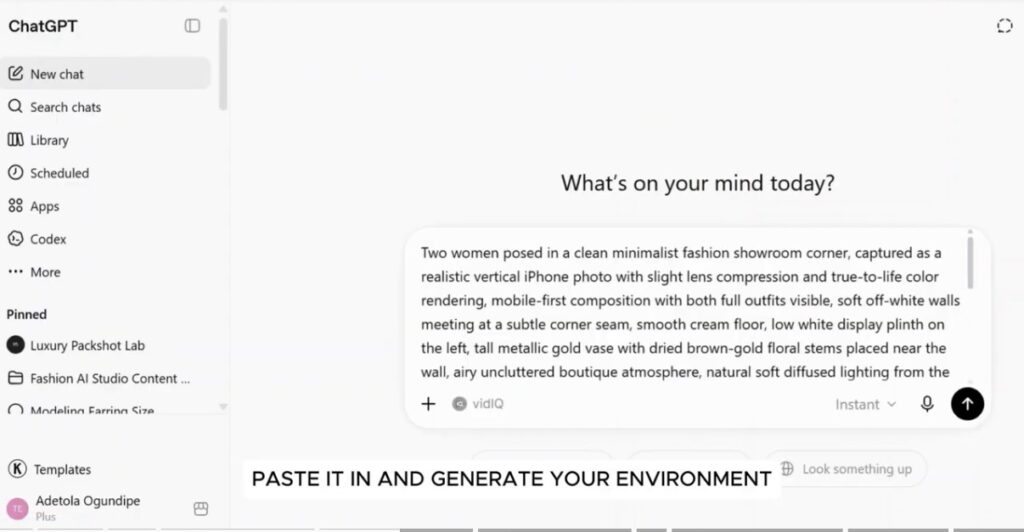
Note on Setup: While steps 1–3 take a few minutes upfront, they are a one-time setup. Once your model and background templates are saved, every future product shoot takes only minutes.
Step 4: Dress Your Model in Your Product
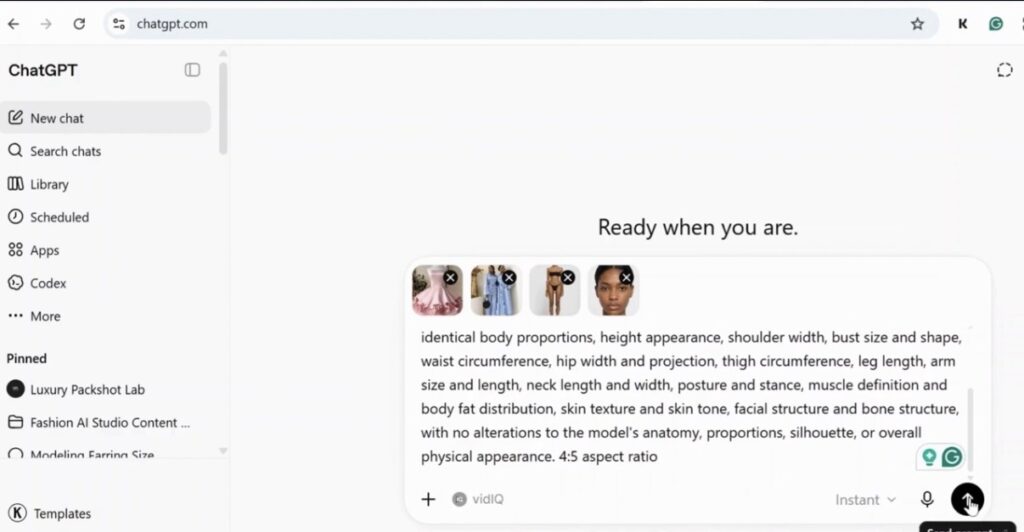
Now it’s time to put your clothing on your model. Open a new chat and upload four things:
- Your model’s face image
- Your model’s body image
- Your background/environment image
- An image of your actual product (a flat-lay, mannequin shot, or a quick phone snap)
- Tye in the prompt
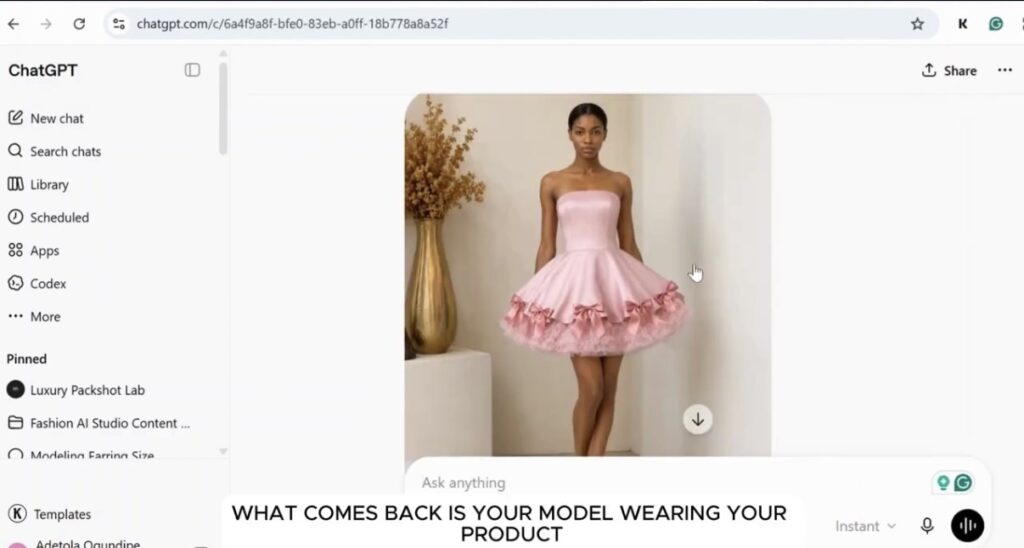
ChatGPT will seamlessly transfer the clothing onto your consistent model within your chosen environment.
Step 5: Change Your Model’s Pose
One photo isn’t enough to sell clothing online. Customers want to see the front, side, and back. Browse Pinterest for fashion poses, take a screenshot, and upload it along with your model image to generate different pose variations.
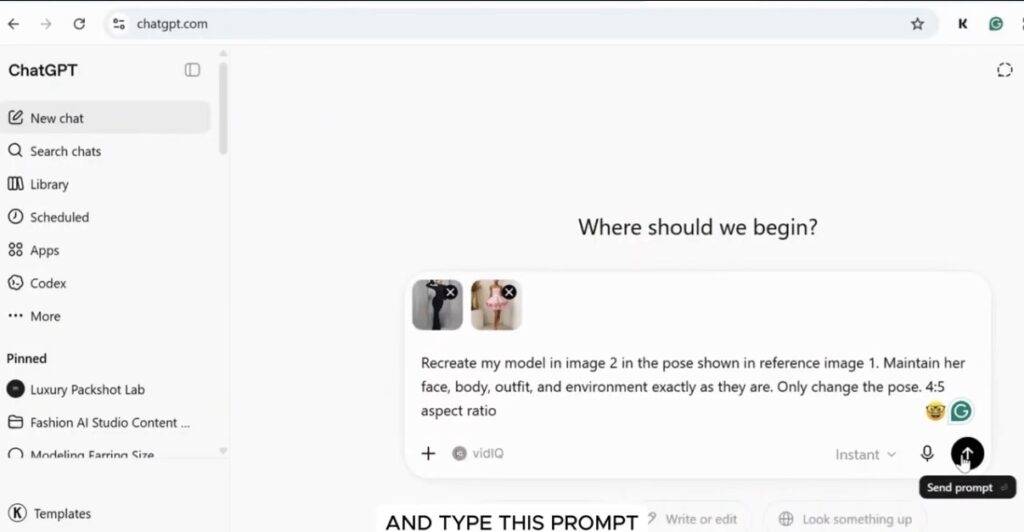
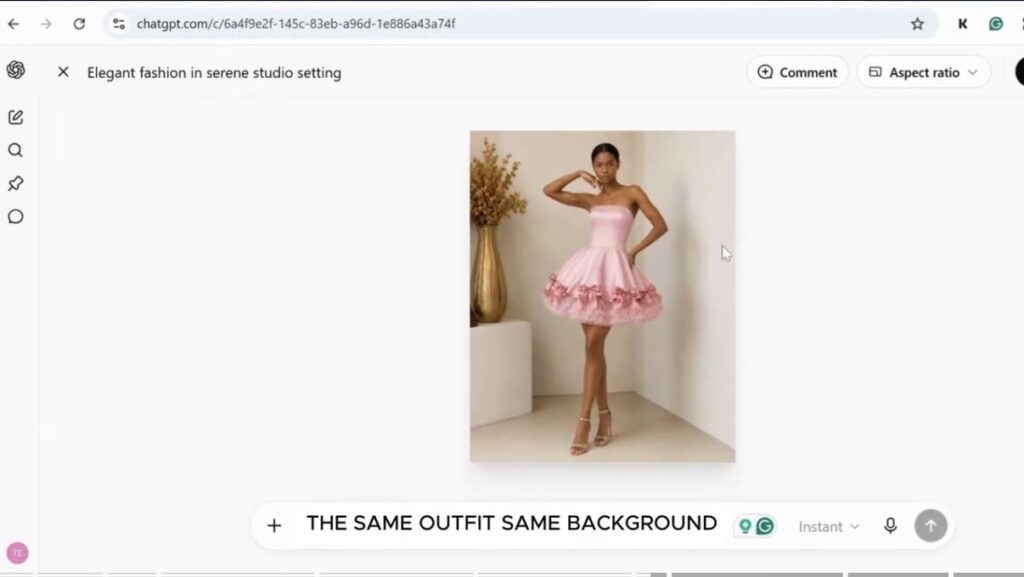
Step 6: Capture Close-Up Detail Shots
To highlight the textures, buttons, stitching, unique necklines and specific details about your clothing, upload your model image alongside a close-up product reference photo to generate high-detail macro shots.
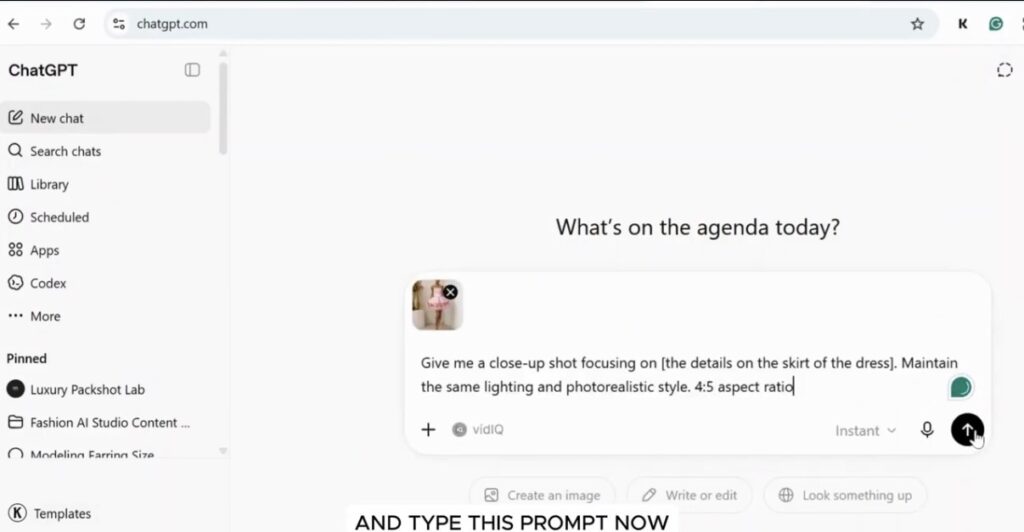
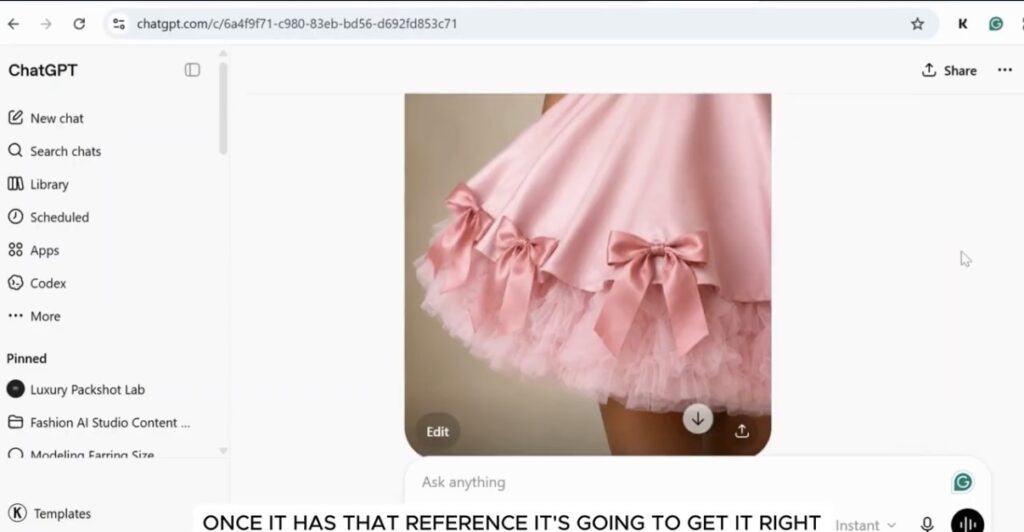
Step 7: Upscale Images for E-Commerce (Crucial)
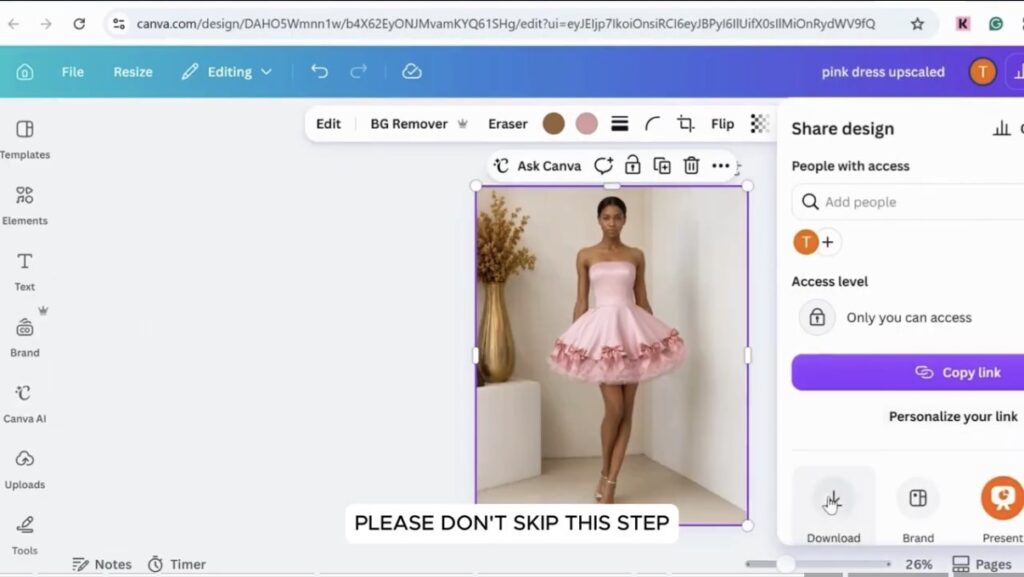
AI-generated images are great, but customers love to zoom in on product pages. Never skip this step: upload your generated images into Canva, head to image tools, and run the Upscale option to instantly sharpen and enhance resolution.
Step 8 (Bonus): Bring Your Products to Life with Video & Ghost Mannequins
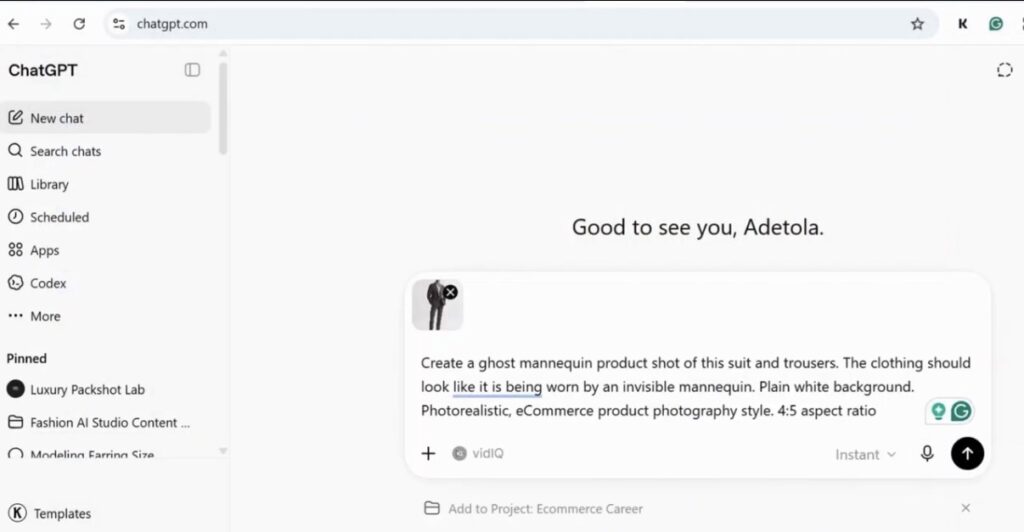
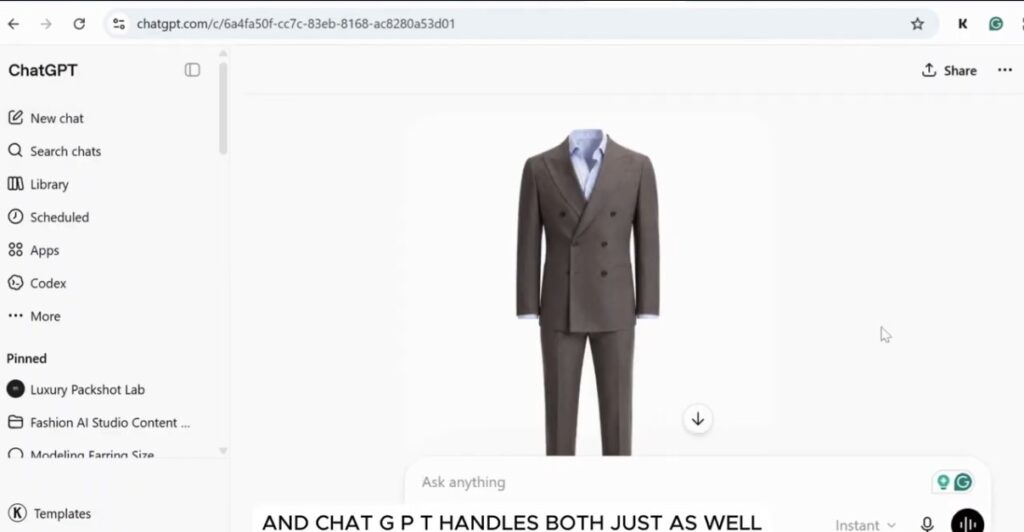
If you want to take your store to the next level, you can turn your static images into short video clips using AI video generators; this allows your model to walk, turn, and showcase how the fabric flows. Also, you can utilize “ghost mannequin” prompts for structured items like blazers and suits.
To achieve this, upload an image of your outfit and type in this prompt, this will generate a ghost mannequin shot that showcases your clothing in a clean, simple environment allowing the details and structure of your outfit to shine.
You Can Win Too With AI
Before AI, small clothing brands and independent fashion resellers struggled to compete with other fashion businesses with large budgets. Today, generative AI has leveled the playing field, allowing emerging brands to look just as polished as established houses, for a fraction of the cost. If product photography has been the bottleneck holding your store back, that excuse is officially gone.